Manage departments
As a Supervisor, you can set up departments (e.g., Sales, Technical, Billing) and group your agents accordingly. When engaging with a customer, agents can transfer the chat to a specific department or agent within a department based on the expertise the customer requires.
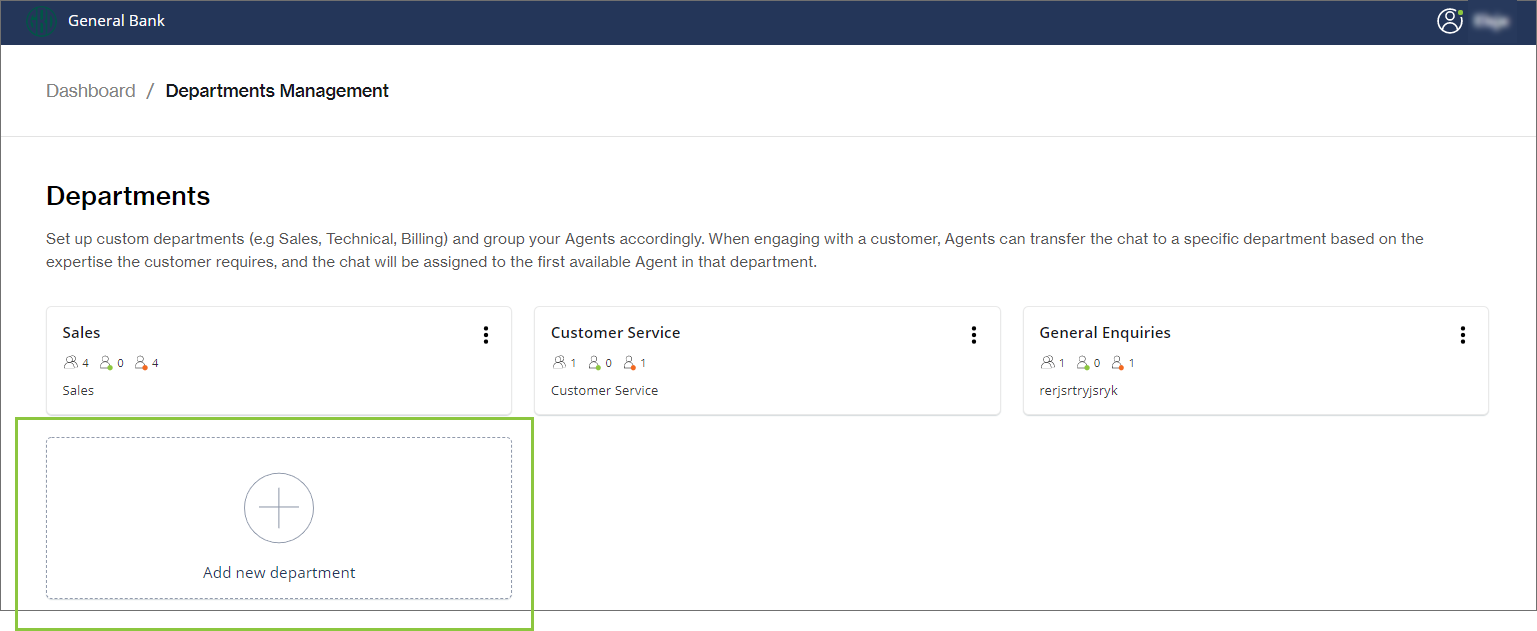
Add new department
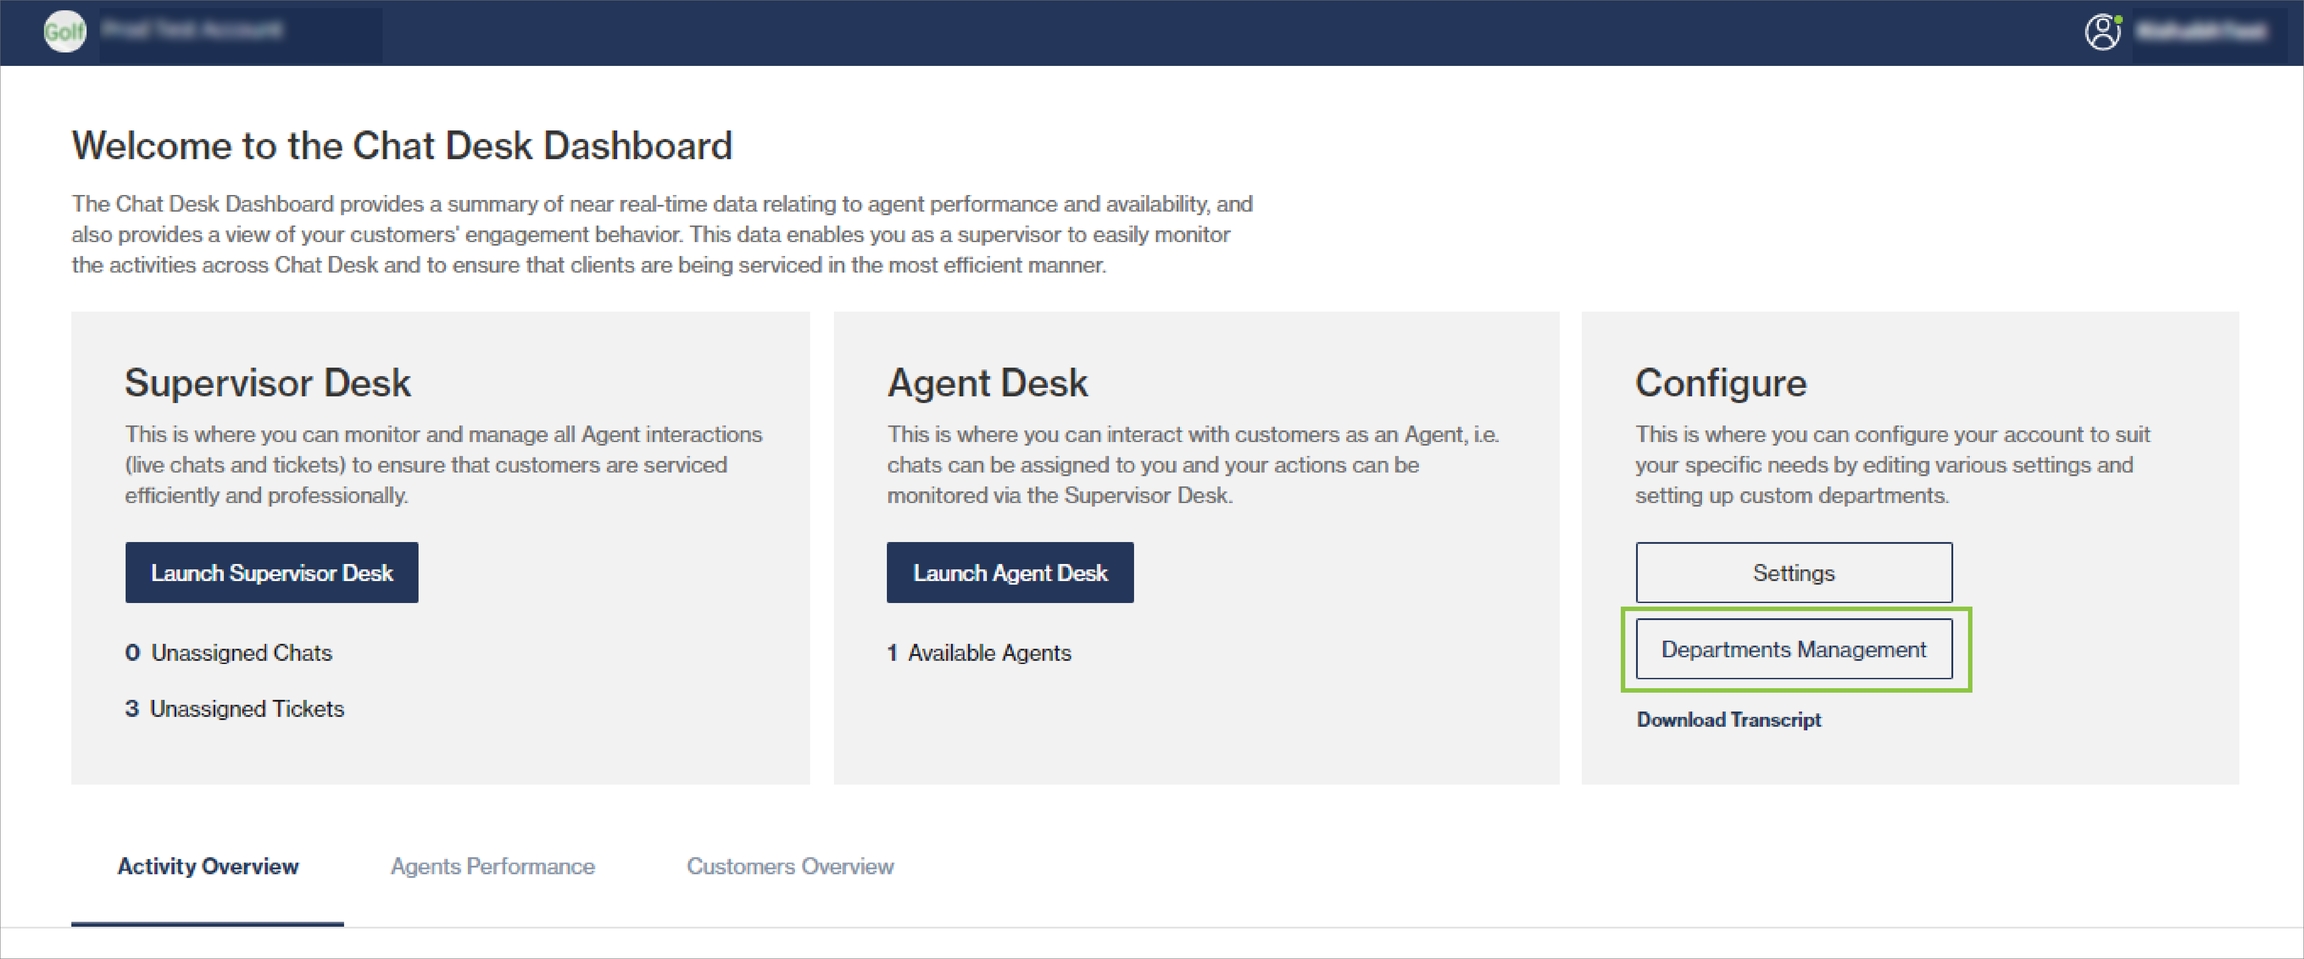
From the Chat Desk Dashboard, click Departments Management.
Click Add new department.
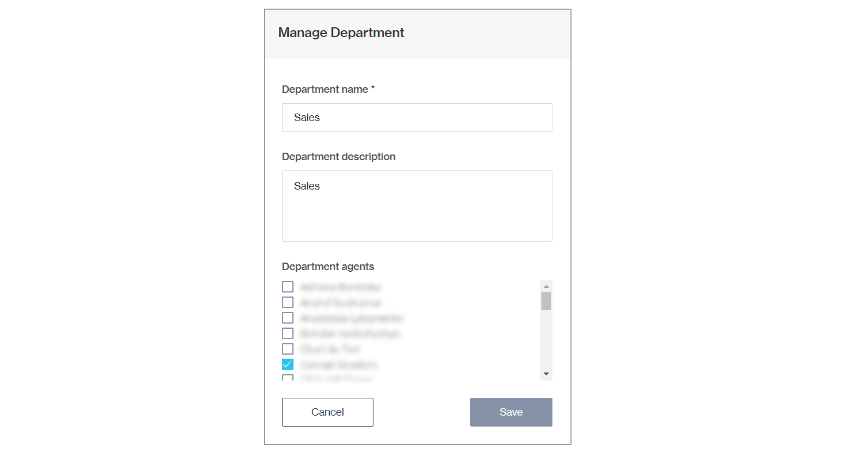
Provide a name and description for the new department.
From the list of agents, select who must form part of this department.
An agent can belong to more than one department.
Click Create to save and add the department to the Departments Management view.
Under Chat Desk Preferences you can set the departments that should serve as the first line of contact. All incoming chats will be routed there first.
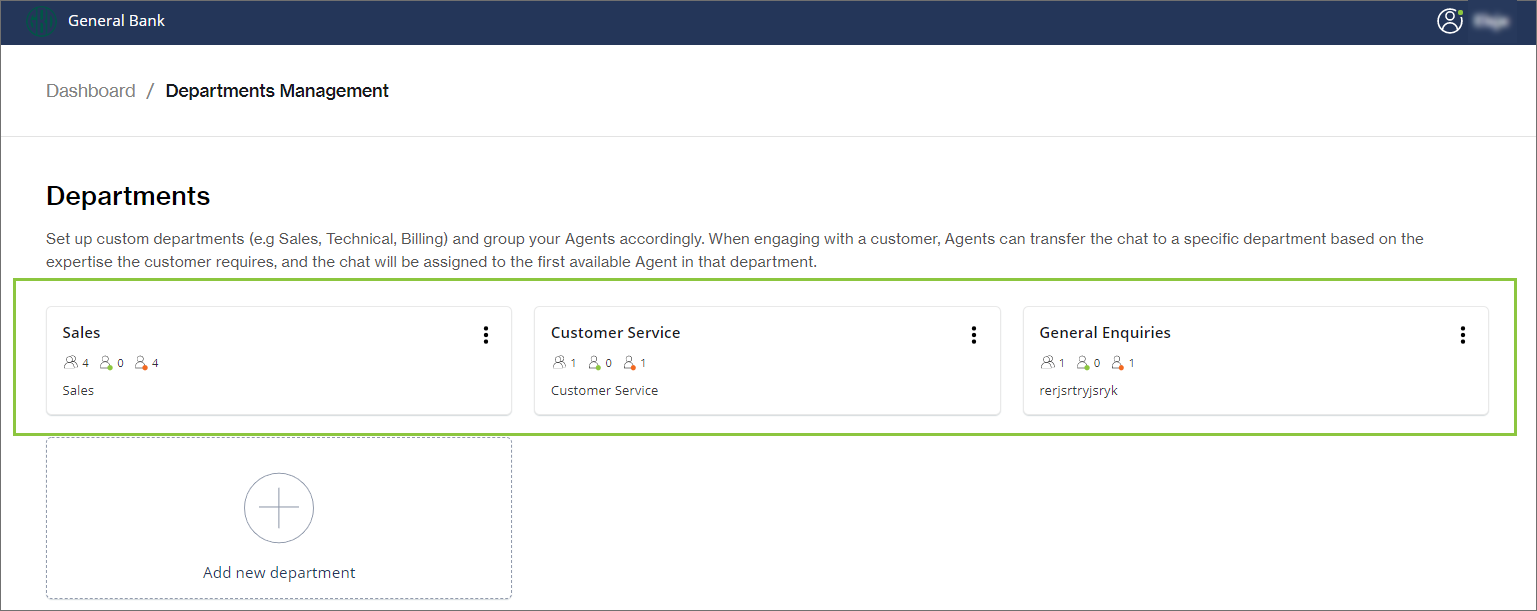
Manage departments
All your departments are shown on the Departments Management screen.
The icons in each block indicate the total number of agents in the department and how many agents are currently online (green dot) and offline (red dot). When hovering over each icon, the names of the agents are shown.
Edit or delete a department
Click on the three dots in the top right corner.
Select Manage department or Delete department.
Manage department opens a pop-up where you can edit the department's name and description, and add/remove agents to/from the department.
Click Save.
Last updated