Add new Connected App - Salesforce
If you’ve already set up a Connected App for your integration with Clickatell, you can log in to Salesforce and follow these steps to find the required integration details.
To integrate with Salesforce, you need to copy over the Client ID and Client Secret from Salesforce into the Clickatell Portal. These are unique and get generated when you add a new Connected App in Salesforce.
Create a new Connected App in Salesforce
Salesforce is very customizable. The screen in your account might differ slightly from the one in these screenshots.
You need Salesforce Admin credentials to create a connected app.
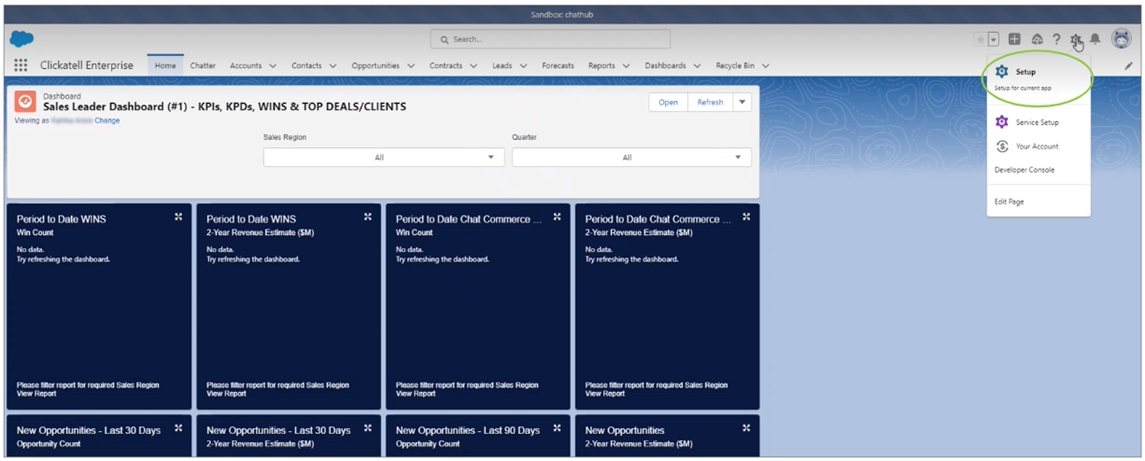
Log in to your Salesforce account.
Go to Settings -> Setup.
Search for “App Manager” and click New Connected App.
If you do not see App Manager as an option, please ask your Salesforce Admin to follow the steps in this document and provide the details you require for the setup in the Clickatell Portal.
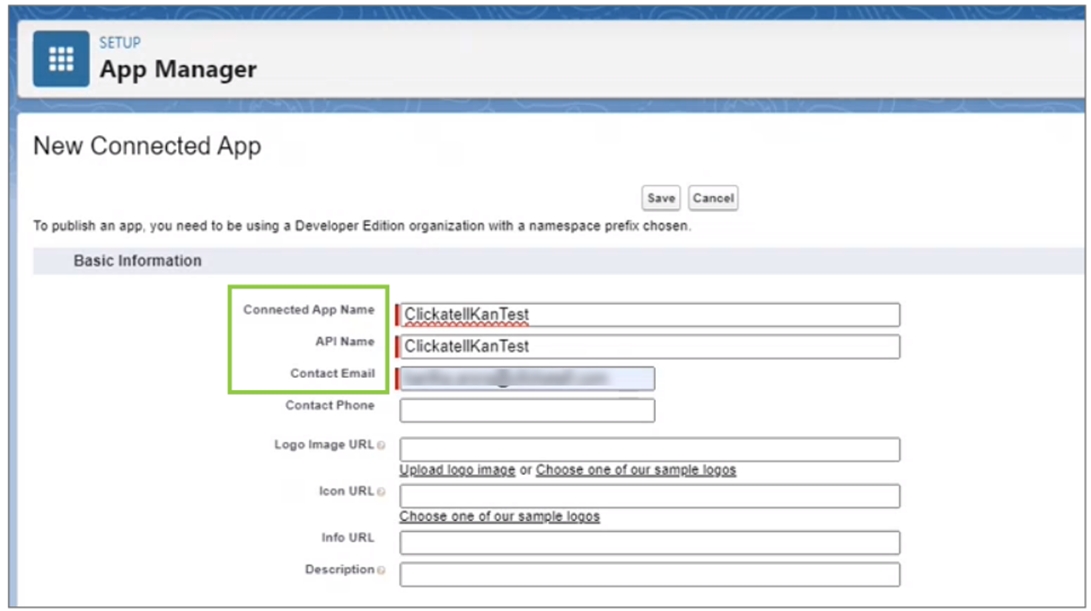
Complete the first three required fields. (You can also complete other optional fields.)
Connected App Name: Give any name to your new connected app in Salesforce.
API Name: This automatically populates based on what you’ve entered above.
Contact email: Enter an email where you can be contacted.
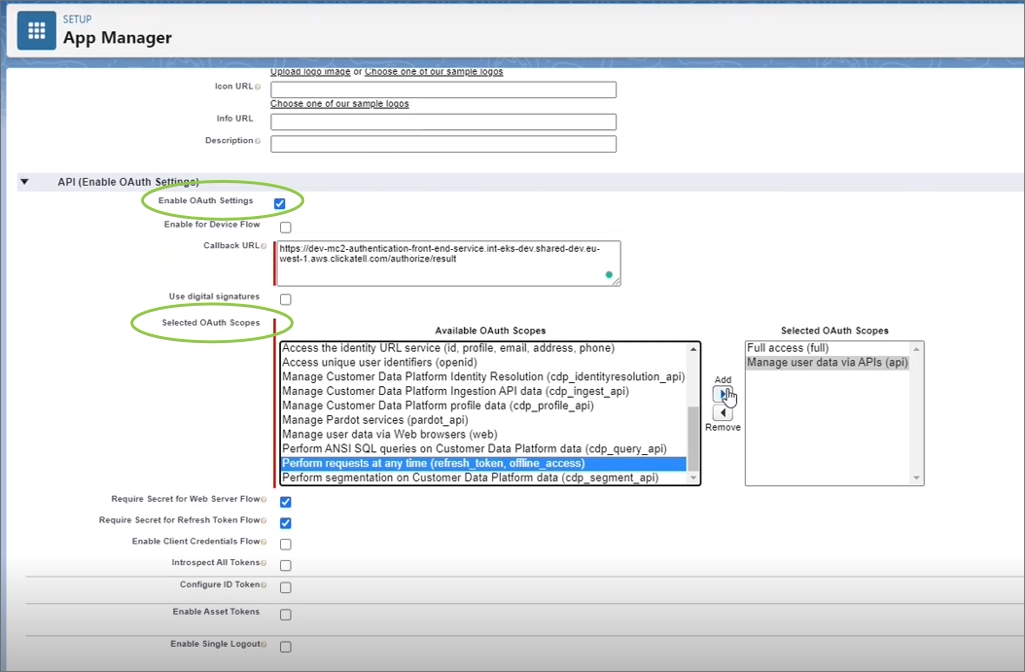
Select “Enable OAuth Settings”.
Add the following scopes:
Full access (full)
Mange user data via APIs (api)
Perform requests at any time (refresh_token, offline_access)
Click Save at the bottom of the page.
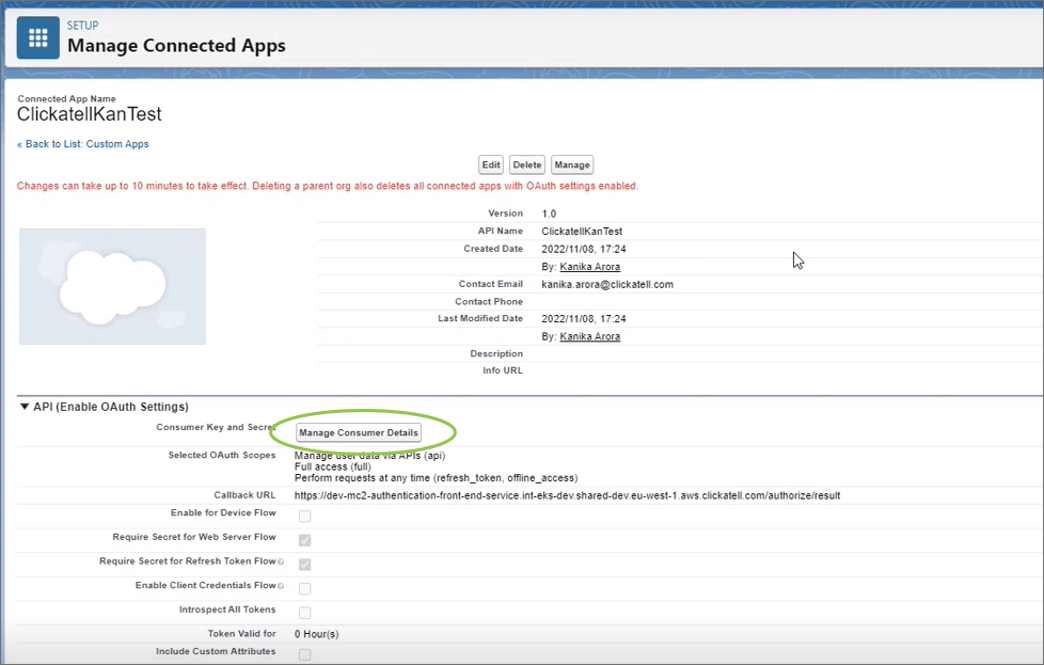
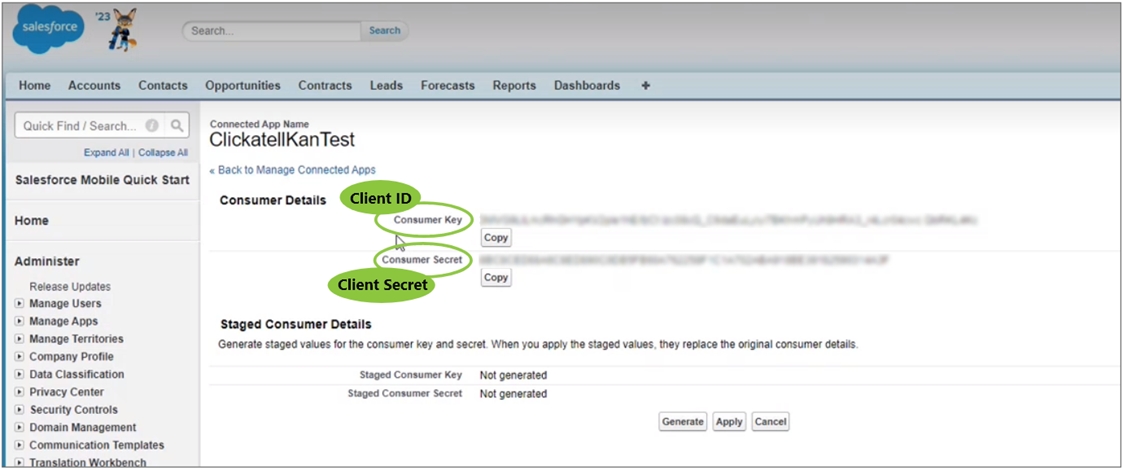
8. Continue to the next page and click Manage Consumer Details.
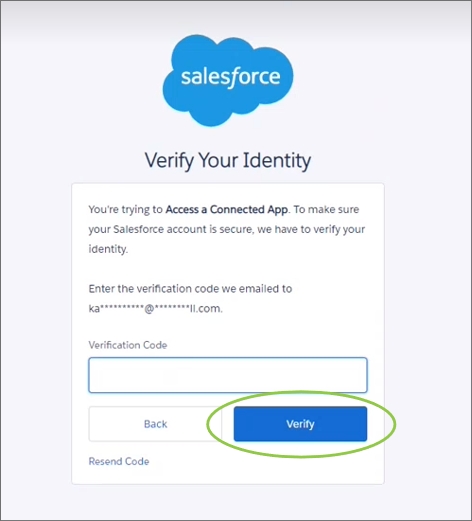
Enter the verification code that is emailed to you and click Verify.
The configuration details required in the Clickatell Portal are displayed.
Last updated