Create WhatsApp business account
As one of the most-used chat applications in the world, WhatsApp is the ideal chat channel to use for your business to see higher delivery, open, and conversion rates.
In order to engage with your customers via the WhatsApp channel, you require a verified WhatsApp Business Account. As an authorized WhatsApp Business Solution Provider, Clickatell will assist you in applying for your own WhatsApp Business account and number via the Clickatell Portal.
Although Clickatell assists you with the application, we do not have control over the approval of your application.
Getting started
Please take note of the prerequisites for a WhatsApp Business Account.
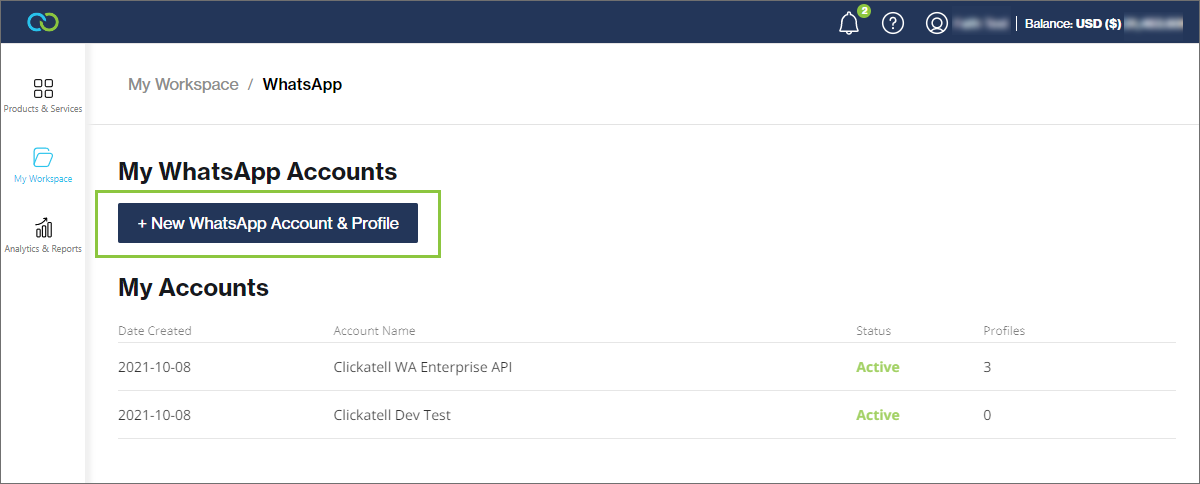
Navigate to My Workspace -> WhatsApp.
Click '+ New WhatsApp Account & Profile'.
You can add multiple WhatsApp Business accounts and will have to complete this application process for each account separately.
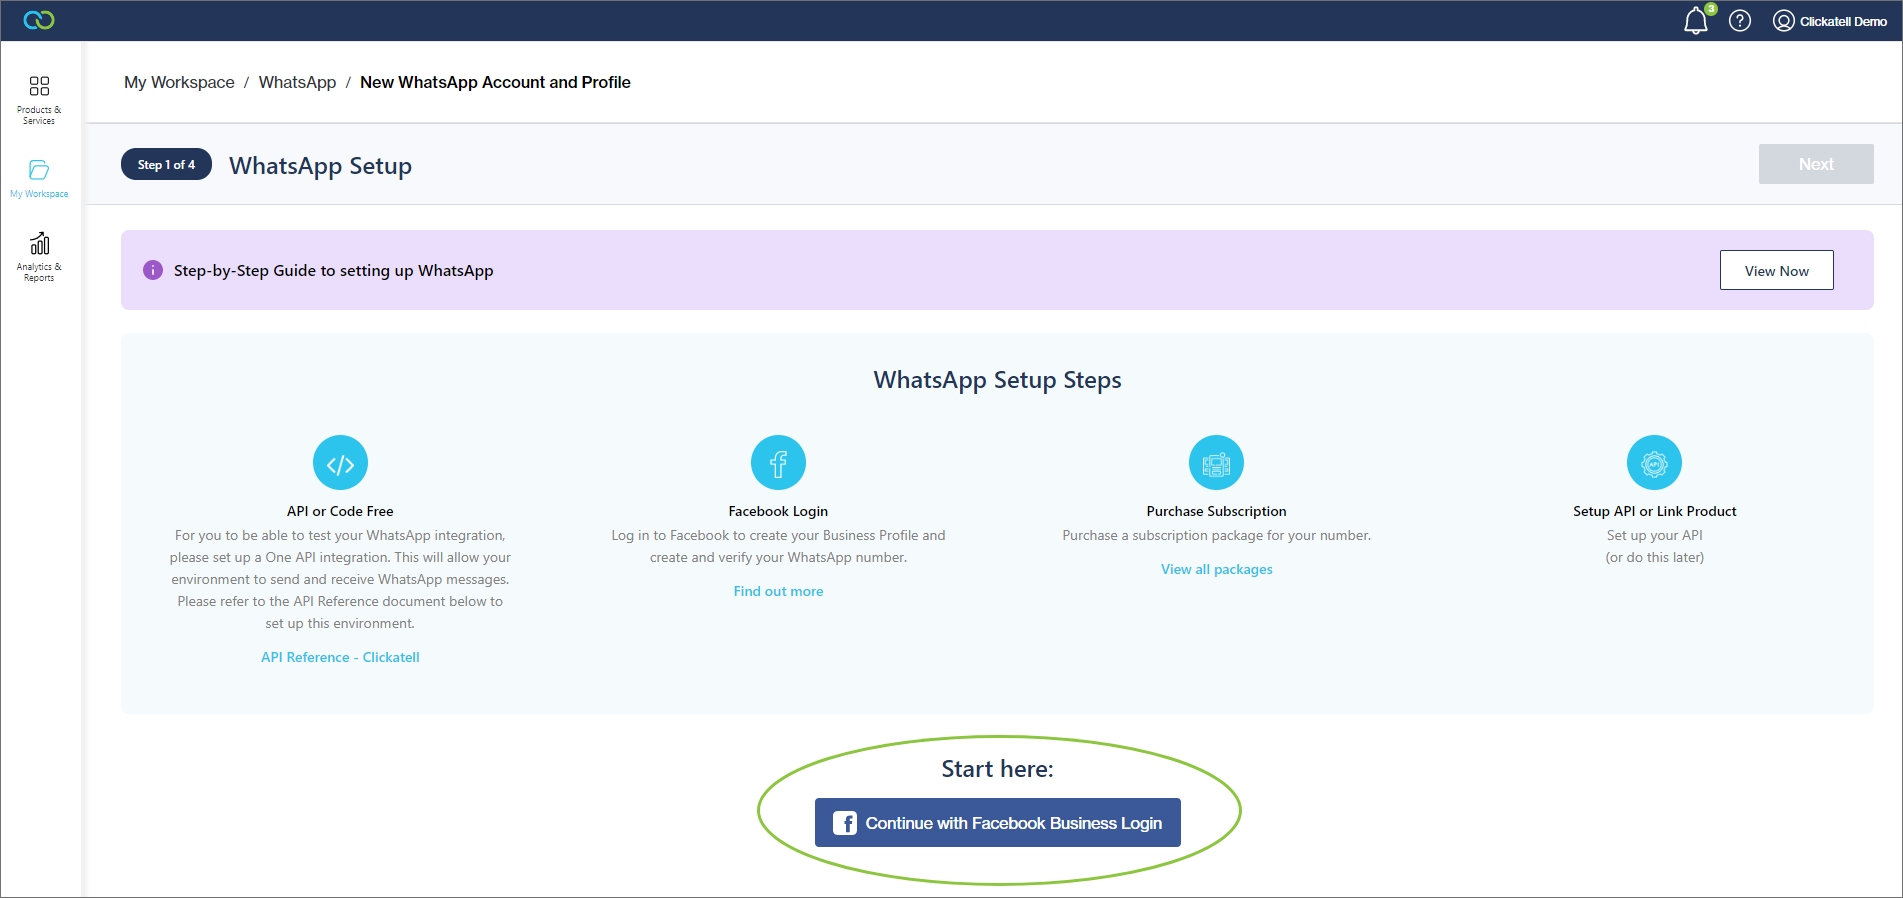
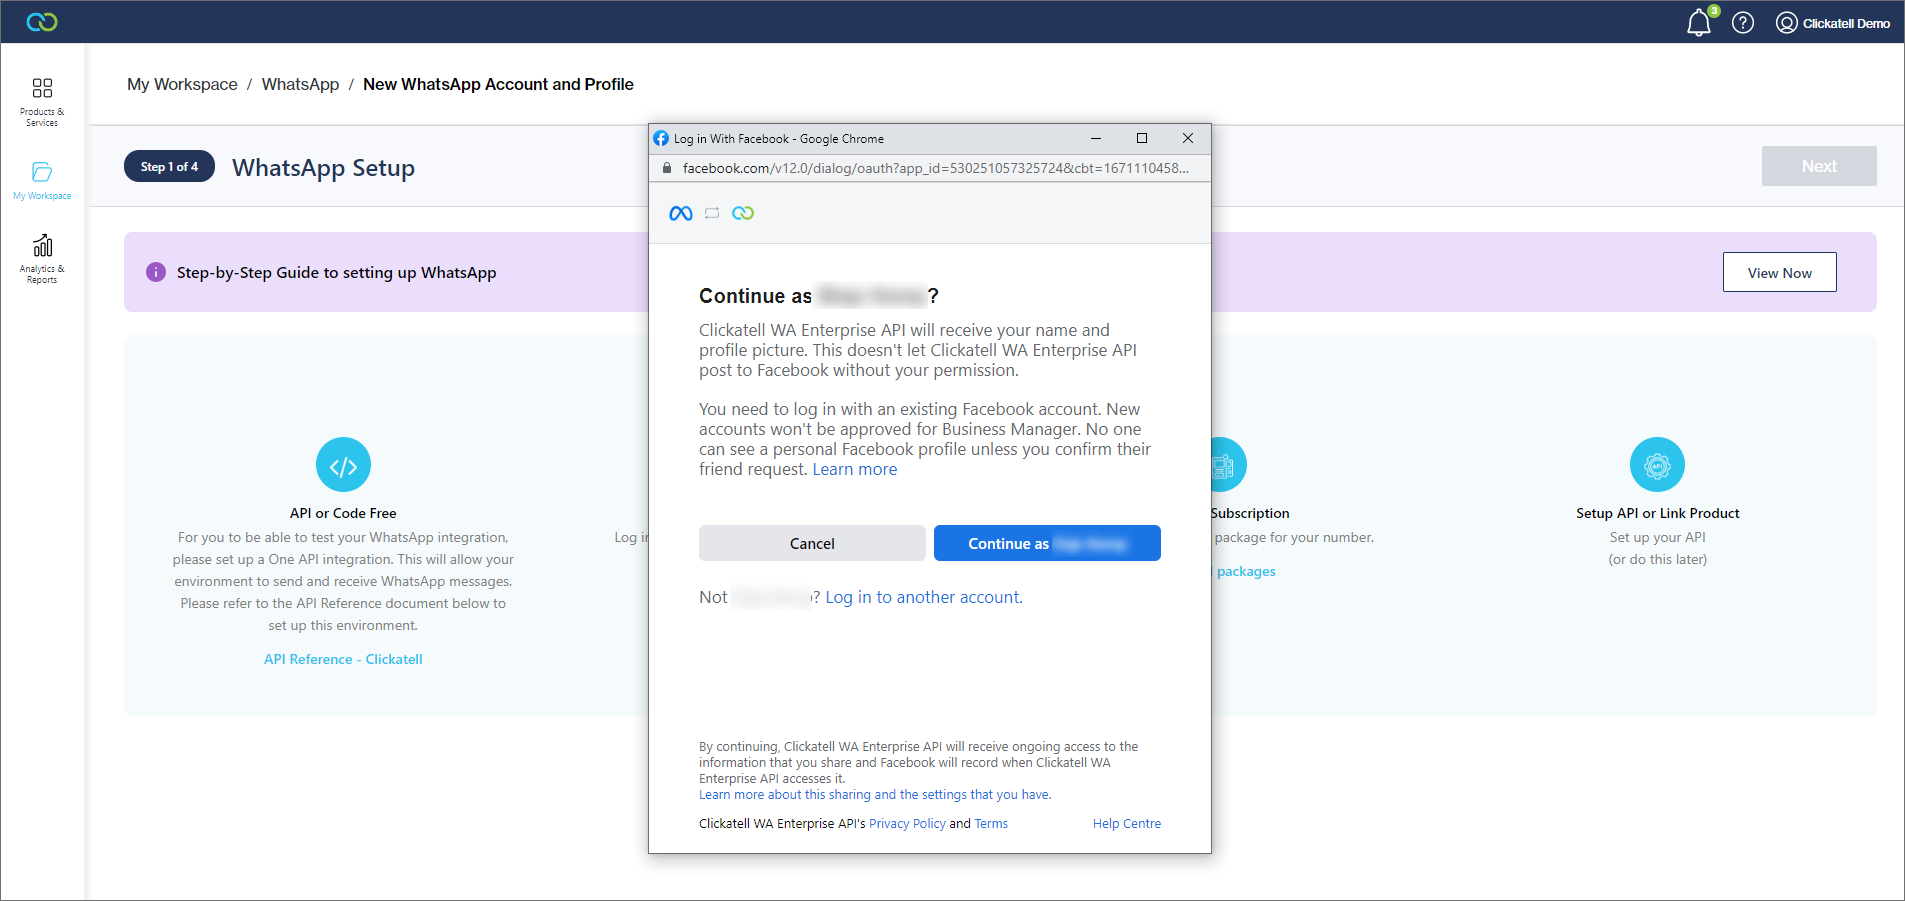
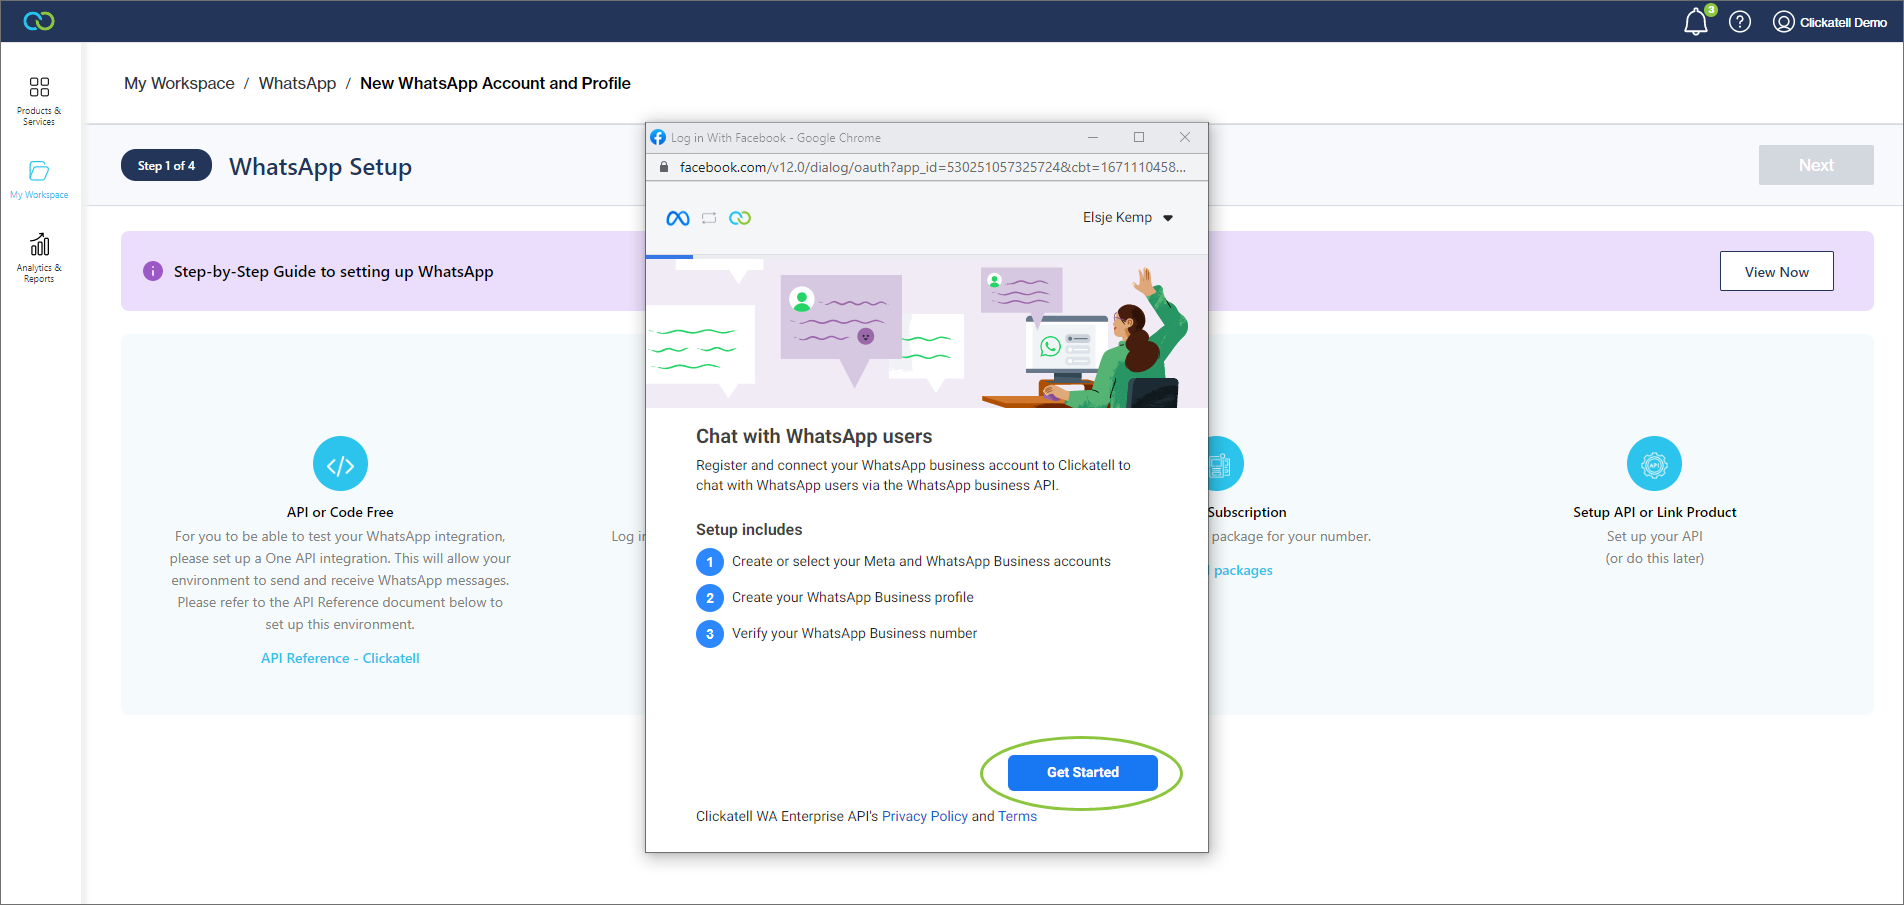
Click “Continue with Facebook Business Login”.
1. Facebook Business
Log into your existing Facebook Business account, or create a new one.
In the Facebook Business Manager Portal itself you need to complete 3 steps:
Create/select a Facebook and WhatsApp Business Account.
Create your WhatsApp Business profile (including display name & number).
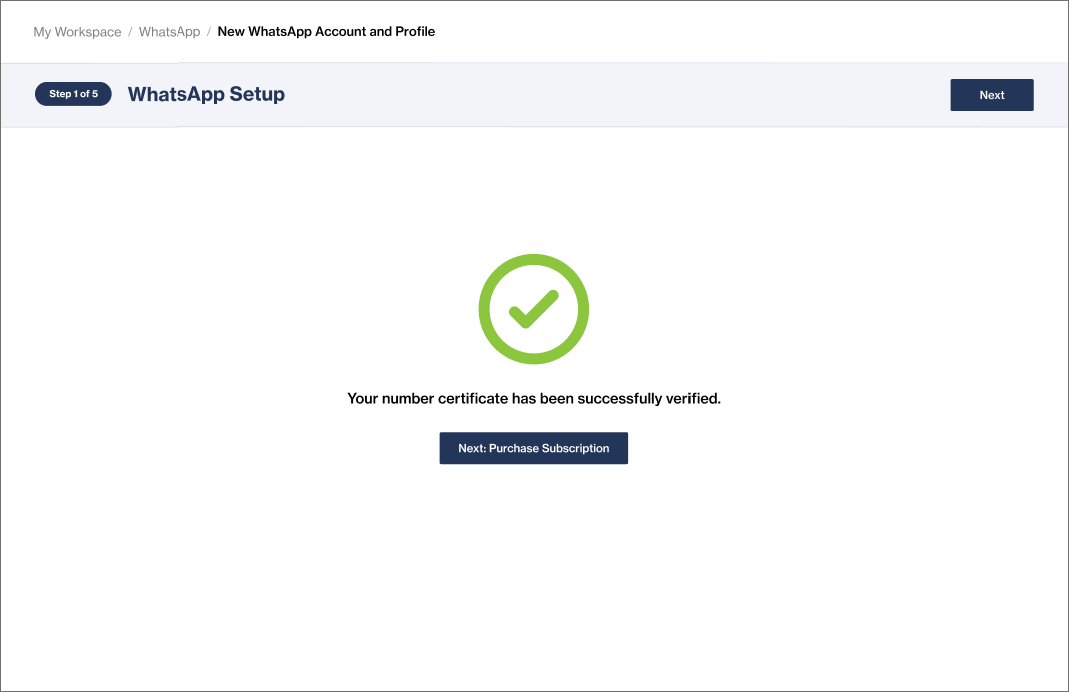
Submit the phone number for your WhatsApp profile and verify via OTP.
Watch this video from WhatsApp to see what the process in Facebook Business Manager looks like.
You must complete the entire flow once you start. If you exit the process before the end, you will need to start from scratch again.
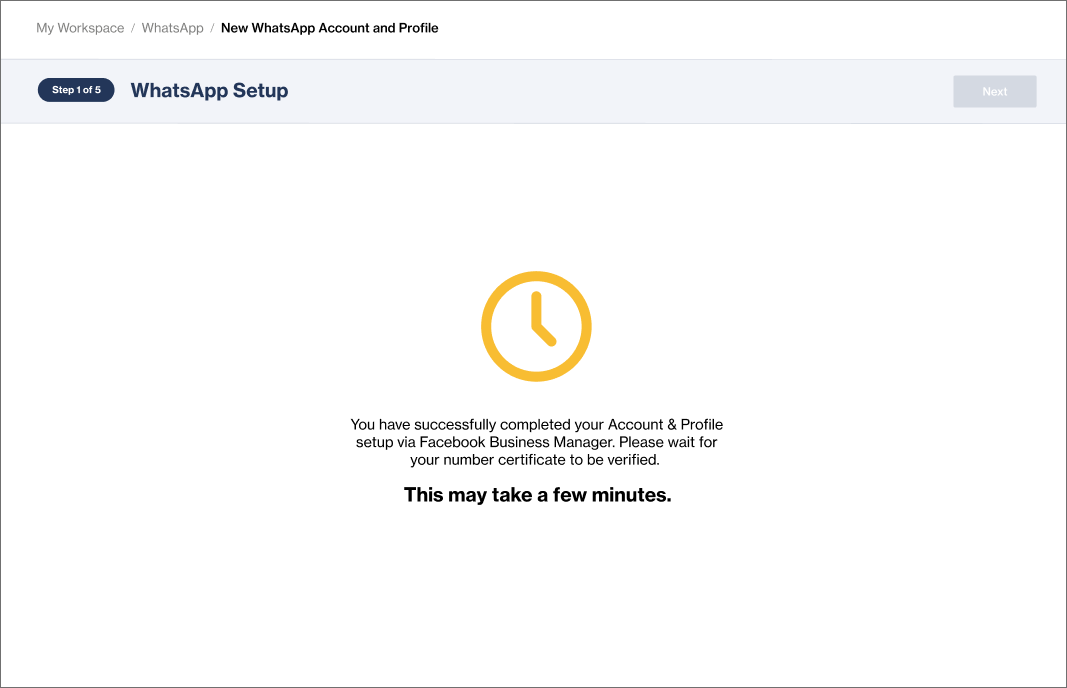
Once these steps are done, you are returned to the Clickatell Portal. You may have to wait a few minutes for Clickatell to retrieve your information from Facebook.
2. Purchase Subscription
Once Clickatell has verified the required information, you are notified that you can continue to purchase a subscription.
Click “Purchase Subscription”.
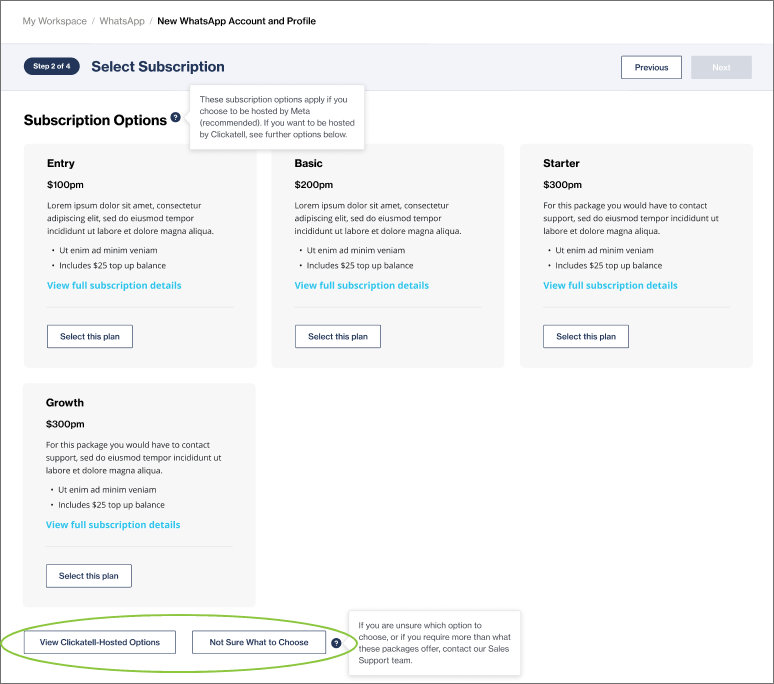
Select a plan from the subscription options and click “Next”.
Cloud-Hosted solution options are displayed by default. These are recommended for quicker onboarding and being more cost-effective.
Follow the prompts to complete the purchase.
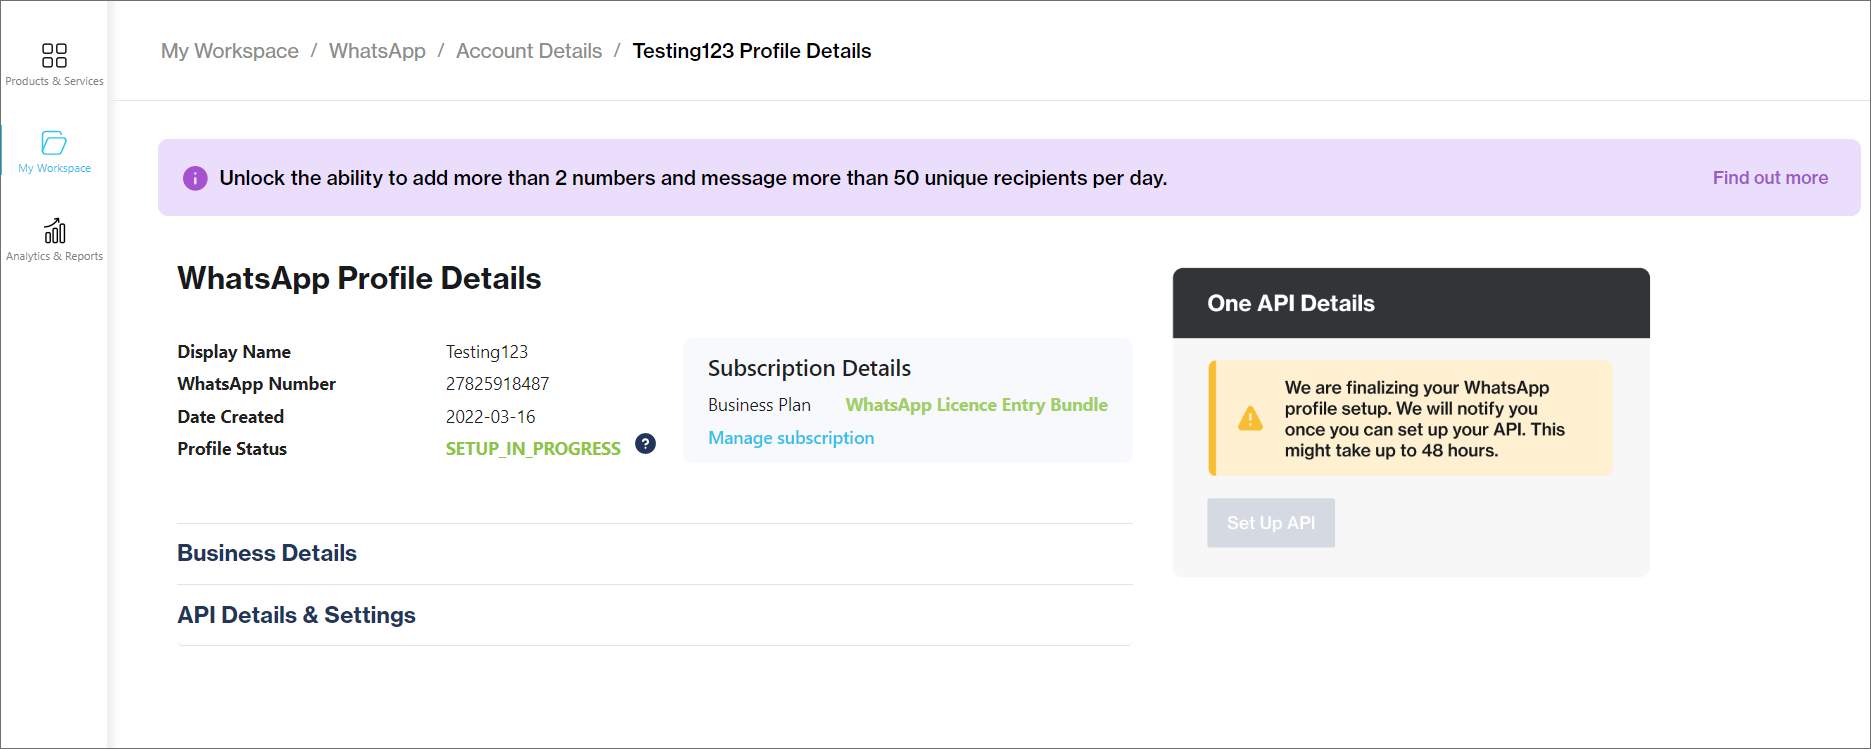
Once you’ve successfully purchased a subscription, Clickatell creates your profile. This may take up to 48 hours if you selected the Clickatell-Hosted option. For Cloud-Hosted it is created immediately.
3. Set Up API
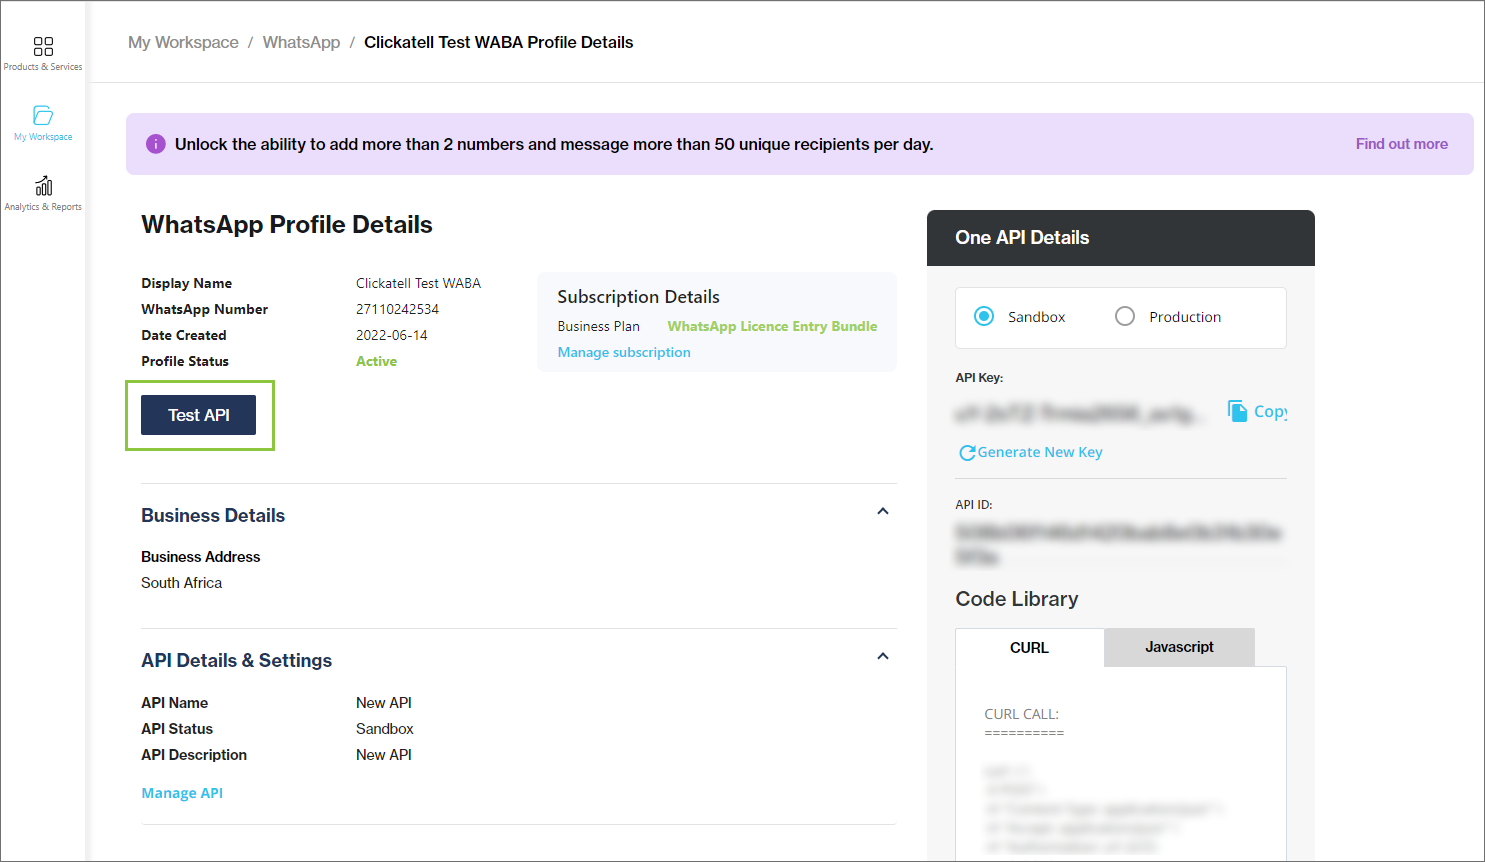
Once your profile is ready, your profile status changes to "Active". You can now set up your API.
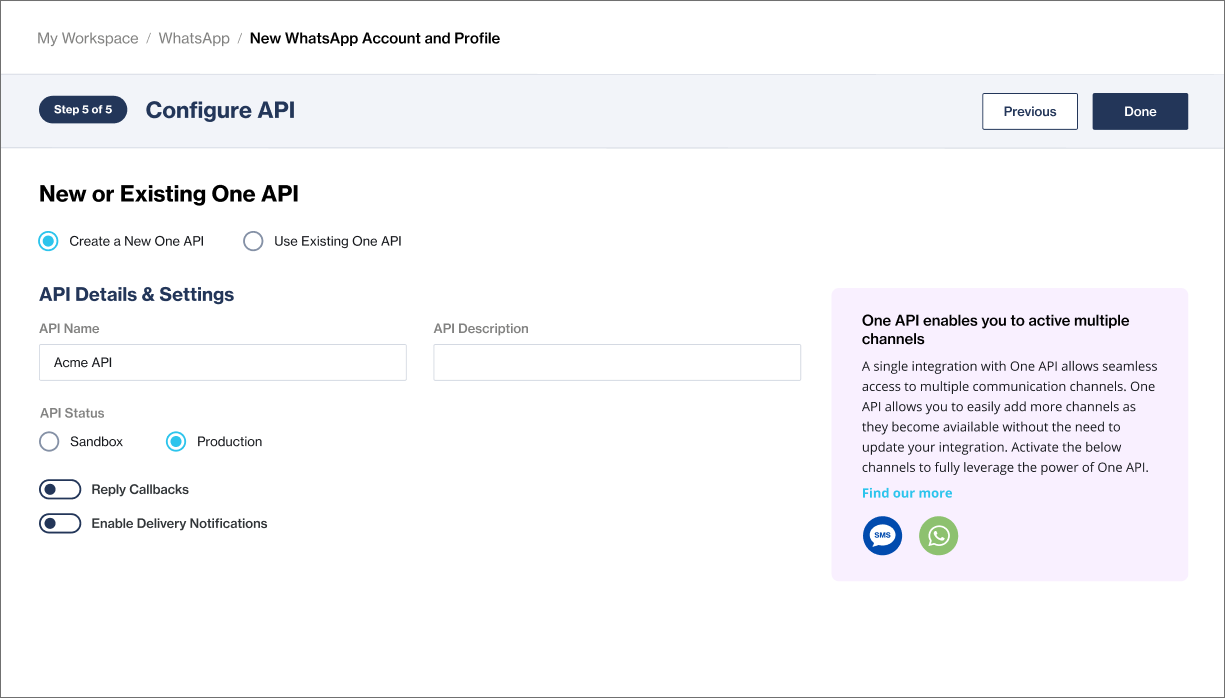
Click “Set Up API”.
You can create a new API or use an existing one.
You can also switch between Sandbox (for testing) or Production setups.
Add the required details and click “Done”.
Once you've set up your API, you can test your integration.
You can also view your Business Details and view and manage your API Details and Subscription.
Note that, although you can start using your API, you are limited to the following until your business is verified:
Adding 2 numbers to your account
Sending business-initiated templated messages to a maximum of 250 unique recipients per day
Unlimited user-initiated messages
To remove these limitations, verify your Business Account.